
The details: Birch’s folded neckline

When making Birch, I put a lot of thought into the little details of the design. Things that may not seem obvious at first glance, but will ultimately make a huge difference in the look and wearability of the finished sweater. Even though a drop shoulder silhouette has a more casual feel, I wanted Birch to have plenty of polish and how the neckline looks is an important part of that.
The fit of a neckline can make or break a sweater. The whole garment hangs from that point, and, as the part closest to a person’s face, it is the most frequently seen part of the whole garment. I couldn’t find much guidance on how deep or wide to make the neckline (children’s size charts are not very detailed) so I relied heavily on experimentation and ripping it back out. The fact that I have a normal sized child to try the sweater on to check the fit was extremely valuable. I knit and ripped out the front shaping a couple of times. The same thing with the neckline. I wanted it to fit perfectly. Being able to try something and then try Birch on my daughter allowed me the freedom to experiment and get it right. Ultimately, all of this trial and error was so that so you, the knitter, can benefit and have a perfectly fitting Birch.
Since Birch is has wonderfully squishy all-over texture, I wanted a neckline that would mirror that coziness. Folded necklines have a lovely thickness to them, and I think it is the perfect choice for this design. A folded neckline works really well when you are picking up the stitches for the neckline because a small ridge is created from where you picked up the stitches. This ridge is perfect for sewing down the finished neckline so that you cannot see the seam from the outside.

Squishy texture meets squishy neckline - the perfect pairing. Tip: Do the neckline before the sleeves so you don’t have to bother with the sleeves flopping around.
Originally, I had planned to sew the live stitches to this ridge so that the neckline would remain as flexible as possible, but as I thought about it, I realized that sewing down the live stitches would leave the finished sweater with an inherent weakness. If that piece of yarn holding down the neckline breaks (which could happen if the child wearing it decides to take off the sweater by pulling it down over their body – like my 5 year old), then you have live collar stitches unraveling. Fixing this issue would likely require a whole new collar. Nobody wants to have to knit a whole new collar, and depending on how long it has been, you may not even have the same yarn available for such a fix.
I decided it would be best to bind off the stitches and sew them down after so if the seam yarn breaks, you just need to sew the collar back down. You could use any yarn for this fix since the seam will be invisible from the outside. Typically, it is recommended that you bind off in pattern, but binding off in pattern puts the bind off edge on the top of the ribbing. However, if you bind off the whole neckline in knit you end up with a tidy braid laying just on the inside of the neckline ribbing. When you fold the neckline over, this tidy braid lays right next to the ridge from picking up stitches, and you can very easily sew the two together.
The bind off needs to be worked very loosely. After all, you do need to be able to put this sweater over a child’s head. You can use a needle several sizes larger in your right hand if you would like, but I just pull each stitch up a bit so I have a nice sized loop as I am working the bind off. After working for an inch or two, pause and check that the bound off portion is nice and stretchy. If it isn’t flexible, just tink back and redo that small section more loosely.
Once you have the bind off completed, turn the sweater inside out, fold the bind off down next to the ridge from the picked-up stitches. Sew the near leg of the bind off stitch to the near leg of the ridge. I’ll put some pictures of this in here below so you can see what I mean. As you go, be sure to check every little bit to make sure that you are still folding the neckline straight over and not gradually shifting it over and introducing a bias to it. Peek at the underside and see if the columns of stitches are laying right at their base.
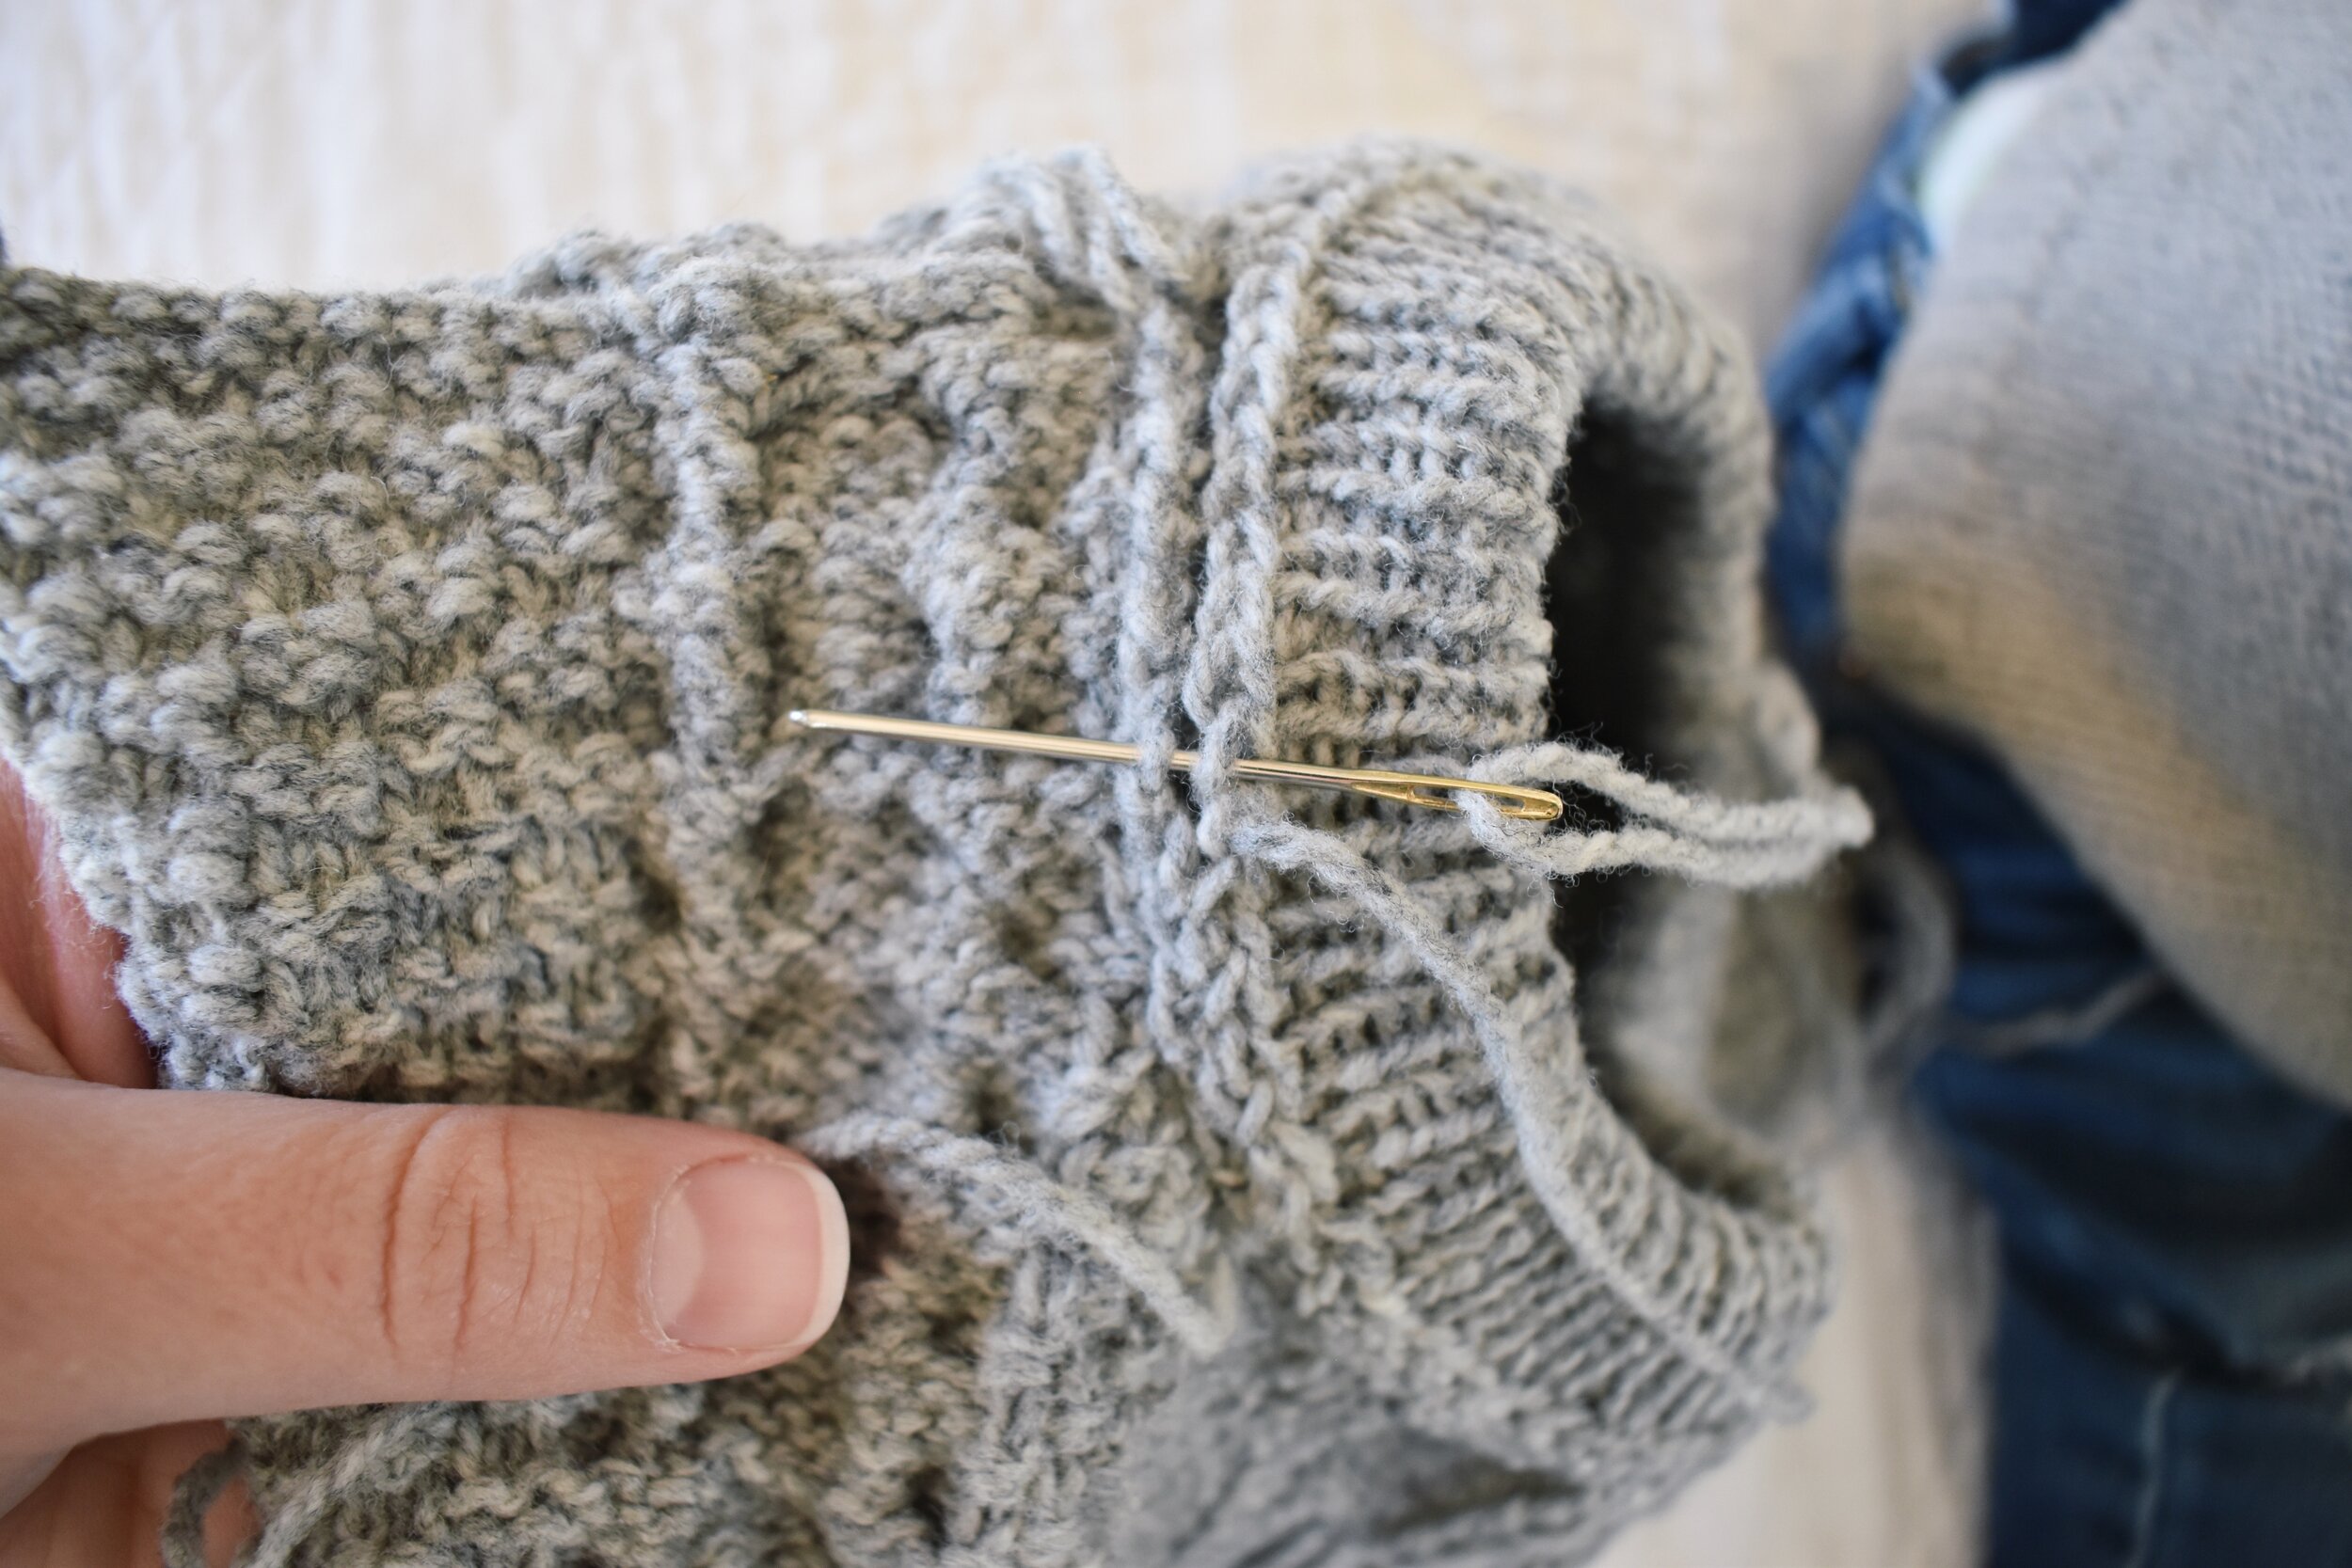
Insert your needle under the two near legs of the bound off stiches and the stitches in the ridge created by picking up the neckline stitches.

Then go in the opposite direction, sewing together the near legs of the stitches once again. Repeat this motion until your entire neckline is sewed down.
This method creates a neat, entirely flat, and flexible neckline. The part about it laying entirely flat is very important to me. As I design sweaters (and especially children’s sweaters), I’m always thinking of ways to make sure the wearer actually enjoys wearing it. If it is never worn, what is even the point in making it? Having a flat neckband will make Birch much more comfortable to wear, which means it will get worn much more often.

Perfectly flat - no kid will have to deal with an uncomfortable neckline!
All of my trial and error was worth it in the end. Birch has a neckline that looks good, fits perfectly, and should make the sweater more comfortable and wearable. Folded necklines will definitely be making an appearance in future designs as well! I just love how cozy they look. Hopefully you like them too, but if you don’t, it is very easy to just knit to the finished neckline depth and bind off. Adding or eliminating a folded neckline is a super easy modification anyone can do if they would like.

Look at how neat the finished neckline looks!
If you would like to see a video tutorial of how to sew down the neckline in this way, simply click on the video below!
Pin for later:
